Tuesday, July 29, 2014

Salty Dwarf at Salt City Gladiator Games

SCGG Geek Garage Salty Dwarf Painting Contest
The Geek Garage will be hosting the painting competition for SCGG. We’d like to invite you all to come and participate in the second Salty Dwarf Painting Competition of which will hopefully be an annual event for the Gladiator Games.  
Fall 2014 Salty Dwarf Painting Competition!
 
October 25th at the Salt City Gladiator Games in Farmington, UT.

Salty Dwarf
Here are the details:
$10 Registration fee per entry ($5 if pre-registering*)
Two Categories:
 Single Figure
 Large Figure/Dio
 Note: This competition is open to all miniature model companies and ranges. After some great questions brought up from the community we have decided to get a bit more specific with categorization and judging criteria.

  Judging Criteria: Technical ability/execution. Artistic quality. Top three entries in each category will be awarded a Salty Dwarf Trophy. (Gold, Silver, and Bronze)
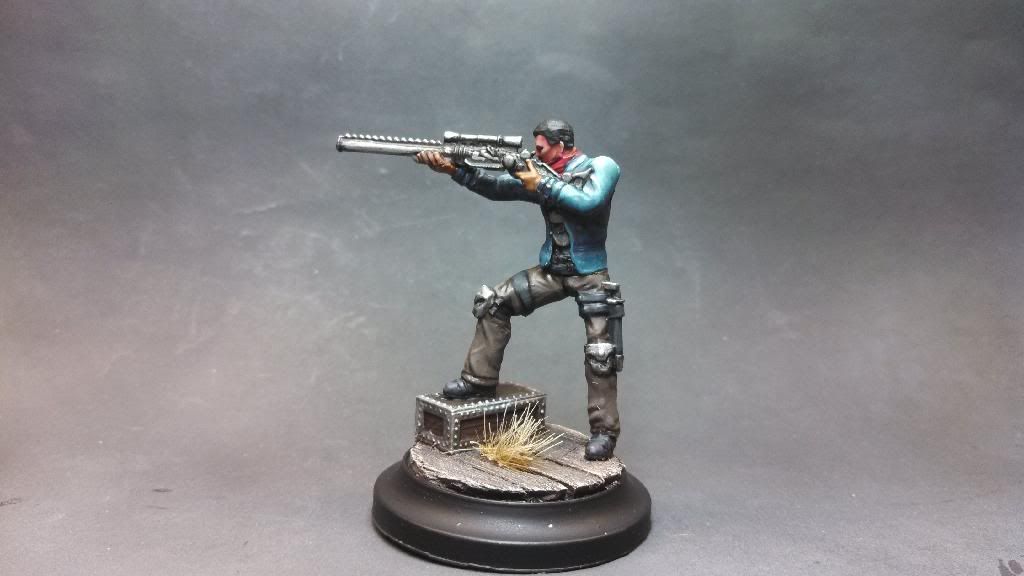
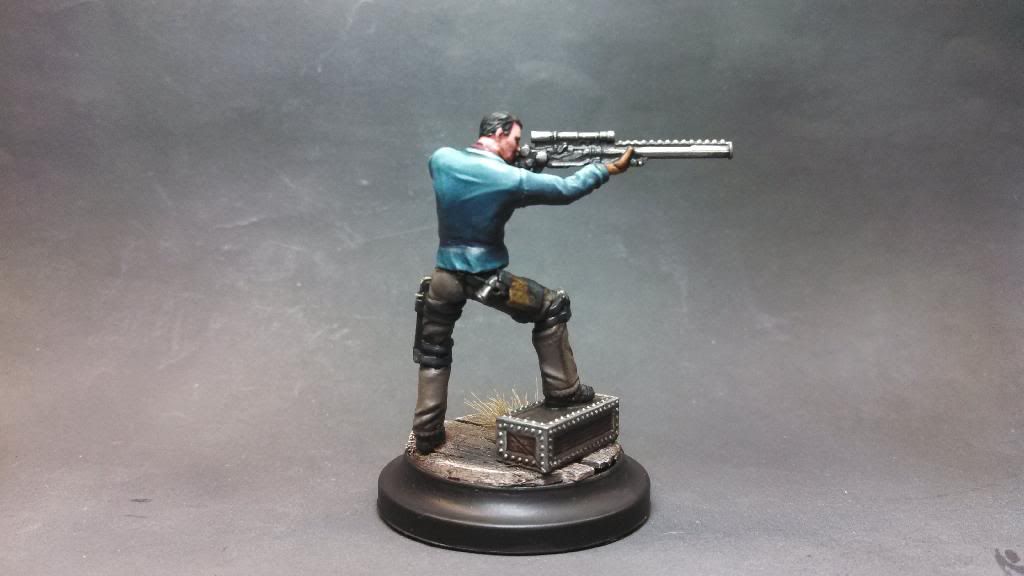
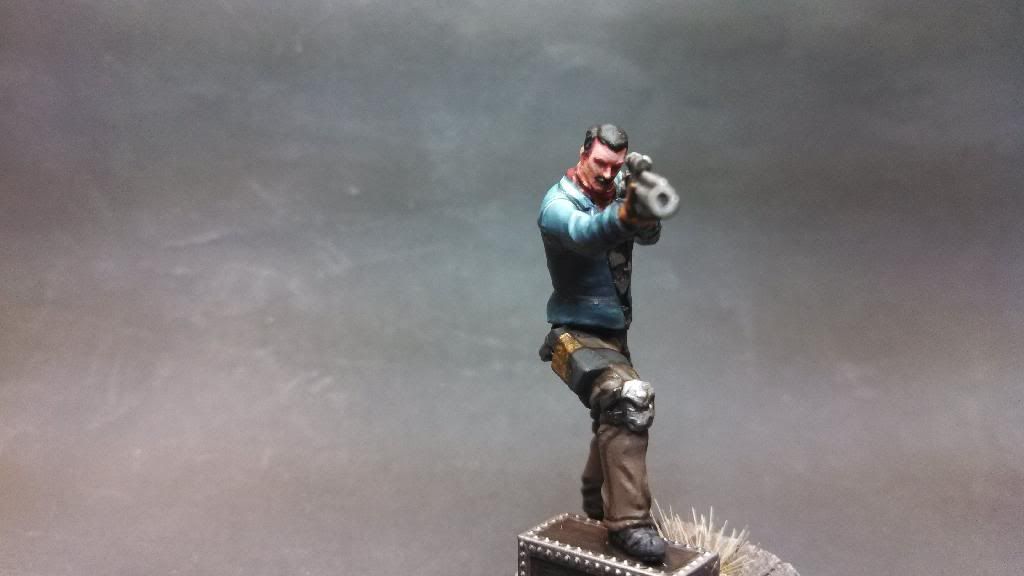
  Single figure: Defined: Smaller figure or animal-mounted figure, such as a knight on a horse, which fall within the size restriction. This includes base, mount, and appendages. A competition judge will rule on any bits, such as a pole, extending beyond the size restriction, at time of entry. Size Restriction: 3x3x3 inches, excluding base.
  Large Figure/Diorama: This category can include any of the following entries defined below: • Large Vehicle Defined as: All vehicles and machines with crew. This includes all tanks, ships, siege engines, all weaponry that contains or is run by one or more crew figures. Multiple freestanding figures (as in crew) must include unifying base, board, or movement tray. • Large Figure Defined as: Single Figures that are larger than Single Figure restrictions. Large monsters, dragons, statues, busts, large scale miniatures, etc. • Diorama Defined: Emphasis is on the display as a focused scene telling a story with figures. This may include battle scenes or other diorama displays. Must be on a unified base, figures do not need to be permanently attached to the base, but judges will take into account the technical aspect of the figures as presented with the base.

  Judging Criteria Defined:
  Technical Ability/Execution- The technical proficiency used in the painting and modeling of the entry. Obvious technical faults are mold lines, sloppy joins, rough primer, and/or sloppy paint.
Artistic Quality- The artistic effects of the piece, including color choices, added detail work, pose, basing, cohesiveness, and the overall effectiveness of the artistic choices made. Updated Rules... these rules are basically identical to the GenCon general painting competition rules and definitions.

Thanks to Amy Stegmann, GenConMinipainting.com and the MHE crew for the rules and category definitions.
 
Competition Rules: -Entrant must have painted the fig themselves. No commissions. -Entries must be received by 12 noon of October 25th. -The fig will be on display throughout the day. DO NOT enter a fig if you plan to use it in the tourney as well. -Entrant must be present to collect the prize at the end of the Salty Dwarf event. Winners will be announced between 5pm and 7pm Saturday. -You do not have to play in the tournaments to enter the painting competition. -By entering the contest, you give the Geek Garage rights and consent to post/publish pictures of the figures and Artists where we deem necessary.
  *Pre-Registration details: Send Pay Pal payment to thegeekgarage@gmail.com leaving a note with a name and category along with payment. Or through the SCGG Store http://mkt.com/salt-city-gladiators/salty-dwarf-painting-competition-pre-registration

 Any questions feel free to contact us at thegeekgarage@gmail.com

Now grab those brushes and start slinging some paint!! -Geek Garage

Sunday, June 22, 2014

Relic Knights: Black Diamond unboxing.

HappyPanda made a visit to the GG paint night and happened to bring along with him his Kickstarter reward for Relic Knights. With him he brought the Black Diamond retail starter set, One Shot, M8-Blitz tank, Diamond Corps, and the Iron Chef.

Have you got your order or will you be picking up this game in July?


Monday, May 19, 2014

Casting the Salty Dwarf

This is a continuation of how we created our Salty Dwarf bust that was used as a trophy for our latest painting competition. Today we will be discussing how to cast a mold. Please note that there are many ways this can be done and the market has many varieties of materials you can use. Take the time to research the casting products.

Here is our clay dwarf bust.
This sculpt is rather complicated and has a large undercut area under the chin where his beard grows. A lot of care must be taken to preserve as much detail as possible. There are several options on making the silicone mold: box mold, glove mold, or a cavity mold. The key is to have at least 1/4" of material around the item you are casting. 

A box mold is where you create a box around the item (I usually use foam core) and pour in the silicone. These are great for simple items but can be a bit more expensive as you are filling up a larger volume. This is a recommend technique for beginners.  

Next, a glove mold uses many layers of silicone painted over the item and can be peeled off like a glove. Requires a different type of silicone that has a faster cure time and some additives. This is an advanced technique not recommended for beginners. 

Lastly is what we used on this project which is a cavity mold. This technique works backwards to the other stages as we will create a shell around the bust and fill it with silicone. 

Items needed for a mold:
demold agent
plaster bandages
silicone
salty dwarf bust
clay

Steps
1. Preparing the bust. For this we used a demold spray which helps protect the original from bonding to the silicone.
2. Negative space. Using clay slabs we built up a 1/4" layer around the original. This will later be removed. You'll want this clay surface to be very rounded with plenty of flat surface area, make sure there are no undercuts at this stage.
3. Using plaster bandages we create a mother mold shell around the clay. This was done in two parts. Once you've done one half and let it cure you'll apply petroleum jelly where the two halves will meet so they don't bond together. We keyed the mother mold shell to the wood base of the bust. This will help in later stages.
4. Once the mother mold shell is hardened you can remove it and the clay. Be careful not to hurt the original while cleaning off the clay. Using the petroleum jelly again we paint the inside of the mother mold shell to prevent any escape of silicone.
5. Now that we have our negative space ready we assemble the mother mold around the bust again securing it at the key points on the wood and turn everything upside down.
6. It is time to pour in the silicone. The stuff we used is a 1:1 product that doesn't require degassing. You do not want to pour in all the silicone at once. A slow pour will help push any air out of the mold. This part of the process takes patients.

7. Once the silicone has cured we can demold the original and see how the mold looks. We had to cut a small seam down the backside of the mold to pull out the original.
8. Last step is reproduction. Silicone doesn't like to bond with anything but itself so a lot of different products can be used to make the reproductions (resin, expanding foam, hydrocal, etc).

Friday, March 28, 2014

The Salty Dwarf is born pt. 1

As we wrap up and think back on our first ever Salty Dwarf. I am happy to say that the event was a success. We are happily planning out how we will be able to make the next event even more successful.
While preparing for our competition we did a lot of thinking about how can we make this a cool and successful event. First on the docket was to have an awesome name. As we bounced ideas off of each other idea of The Salty Dwarf was conceived. Through some further research we were able to determine that you all like your trophies.
With that in mind I grabbed a box of super sculpey firm, a few sculpting tools, and decided to give sculpting a go... Keep in mind I have never sculpted anything other than random details on figs...  Ill walk you through how this uber newb stumbled and bumbled along with a project.  Hopefully it is somewhat helpful to some of you.


1. Here I began by making what vaguely looks like a head and neck. 


Wednesday, March 26, 2014

My first... Demo Table!!

One of the things I enjoy most about this hobby is the chance to try new painting techniques, games, lists, terrain techniques... generally I like to try new "things". This means that at least every other week or so I am doing something for the first time. So I've decided to do a recurring article that focuses on these activities whatever they may be.
The first set of posts will most likely be related to today's. My First Demo Table!
It begins...

Monday, March 17, 2014

Recap of the Salty Dwarf

Over the weekend we took part in judging a painting competition in the Ogden area. The Salty Dwarf is an open painting competition that was held at the same time as the Inter Mountain Cup Warmachine/Hordes tournament and turned out to be a big success. Along with the Salty Dwarf crew we also had famed author Larry Correia who also came to guest just the entries.

Here is how the day went down.


Monday, February 24, 2014

WWX, Outlaw sniper

Well, this guy hasn't been able to hit the broadside of a barn, so of course I thought a paintjob would help his accuracy a bit. I really enjoyed painting him, barring one mishap where I slopped black paint all over his finished shirt!

This makes 3 WWX figs finished to date, only twelve more to go before I finish my little posse!

Thanks for taking a look.

You feeling lucky, punk!?


Saturday, February 8, 2014

Announcing the Salty Dwarf Painting Competition

The Geek Garage will be hosting a painting competition this spring at the InterMountain Cup venue.
We’d like to invite you all to come and participate in the first of what will hopefully be an annual event.
Spring 2014 Salty Dwarf Painting Competition!
March 15th at the Intermountain Cup tournament venue in Ogden, UT.


Salty Dwarf


Here are the details:
$10 Registration fee per entry ($5 if pre-registering*)
2 Categories:
1st Category any models on a small or medium sized base (40mm and smaller)
2nd Category models on large bases and bigger (50mm and larger)
Note: This competition is open to all miniature model companies and ranges.
Prizes will be awarded for top three in each category!

Competition Rules:
-Entrant must have painted the fig themselves. No commissions.
-Entries must be received by 12 noon of March 15th.
-The fig will be on display throughout the day. DO NOT enter a fig if you plan to use it in the tourney as well.
-Entrant must be present to collect the prize at the end of the Salty Dwarf event. Winners will be announced after round 3 (between 5pm and 7pm) of the IMC.
-You do not have to play in the tournament to enter the painting competition.
-By entering the contest, you give the Geek Garage rights and consent to post/publish pictures of the figures and Artists where we deem necessary.

*Pre-Registration details: Send Pay Pal payment to thegeekgarage@gmail.com leaving a note with a name and category along with payment.
Any questions feel free to contact us at thegeekgarage@gmail.com 
Now grab those brushes and start slinging some paint!!

-Geek Garage

Thursday, January 23, 2014

Templecon charity project: Stormblade Captain

As you read this, the Stormblade Capt will be making his way cross country to the waiting hands of the fine folks who are running the Templecon charity project. Hopefully he'll find himself a good home and help support a worthy cause.

For the base I went with the suggestion of flagstone. I used miliput and sculpted out each stone and used a sponge to give texture to the surface. Some of the stone are cracked and to do this look I carved a fine line through the stone and used the sponge to flatten the area giving a more natural look. 

It may not be obvious from the photos but there are eight different shades of color adorning the flagstone. I used several tones of brown and green paint then once that dried I took my pastels (grey, red, purple, blue, yellow, and flesh) to the stones. The pastels gave a translucent shading effect to each area and helped with the overall look.  

Enjoy the photos below and if you have any questions I'll be sure to answer them in the comments.

Cheers,
WC