
Here is our clay dwarf bust.
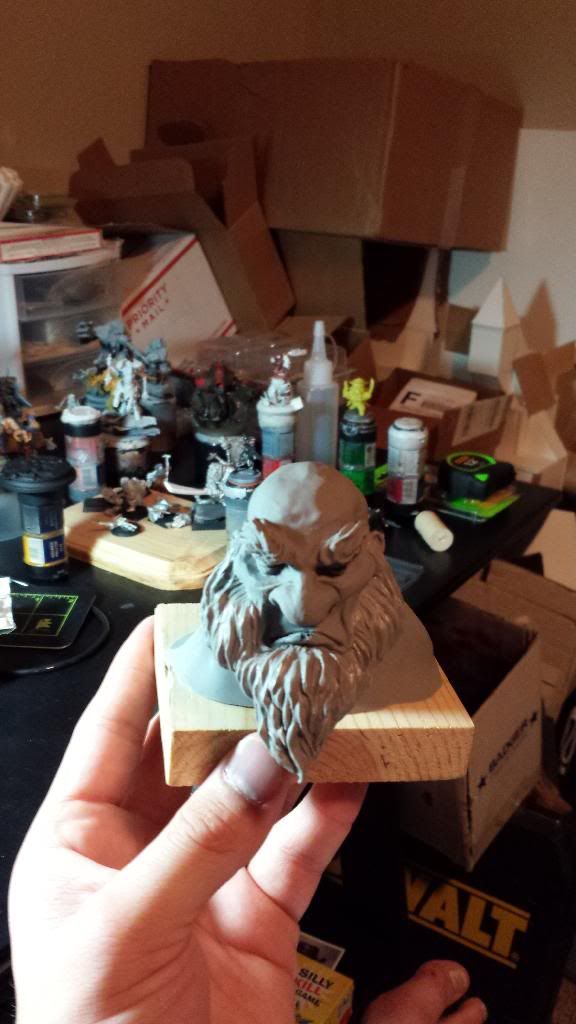
This sculpt is rather complicated and has a large undercut area under the chin where his beard grows. A lot of care must be taken to preserve as much detail as possible. There are several options on making the silicone mold: box mold, glove mold, or a cavity mold. The key is to have at least 1/4" of material around the item you are casting.
A box mold is where you create a box around the item (I usually use foam core) and pour in the silicone. These are great for simple items but can be a bit more expensive as you are filling up a larger volume. This is a recommend technique for beginners.
Next, a glove mold uses many layers of silicone painted over the item and can be peeled off like a glove. Requires a different type of silicone that has a faster cure time and some additives. This is an advanced technique not recommended for beginners.
Lastly is what we used on this project which is a cavity mold. This technique works backwards to the other stages as we will create a shell around the bust and fill it with silicone.
Items needed for a mold:
demold agent
plaster bandages
silicone
salty dwarf bust
clay
Steps
1. Preparing the bust. For this we used a demold spray which helps protect the original from bonding to the silicone.
2. Negative space. Using clay slabs we built up a 1/4" layer around the original. This will later be removed. You'll want this clay surface to be very rounded with plenty of flat surface area, make sure there are no undercuts at this stage.
3. Using plaster bandages we create a mother mold shell around the clay. This was done in two parts. Once you've done one half and let it cure you'll apply petroleum jelly where the two halves will meet so they don't bond together. We keyed the mother mold shell to the wood base of the bust. This will help in later stages.

5. Now that we have our negative space ready we assemble the mother mold around the bust again securing it at the key points on the wood and turn everything upside down.
6. It is time to pour in the silicone. The stuff we used is a 1:1 product that doesn't require degassing. You do not want to pour in all the silicone at once. A slow pour will help push any air out of the mold. This part of the process takes patients.

7. Once the silicone has cured we can demold the original and see how the mold looks. We had to cut a small seam down the backside of the mold to pull out the original.
8. Last step is reproduction. Silicone doesn't like to bond with anything but itself so a lot of different products can be used to make the reproductions (resin, expanding foam, hydrocal, etc).
No comments:
Post a Comment