
As we wrap up and think back on our first ever Salty Dwarf. I am happy to say that the event was a success. We are happily planning out how we will be able to make the next event even more successful.
While preparing for our competition we did a lot of thinking about how can we make this a cool and successful event. First on the docket was to have an awesome name. As we bounced ideas off of each other idea of The Salty Dwarf was conceived. Through some further research we were able to determine that you all like your trophies.
With that in mind I grabbed a box of super sculpey firm, a few sculpting tools, and decided to give sculpting a go... Keep in mind I have never sculpted anything other than random details on figs... Ill walk you through how this uber newb stumbled and bumbled along with a project. Hopefully it is somewhat helpful to some of you.
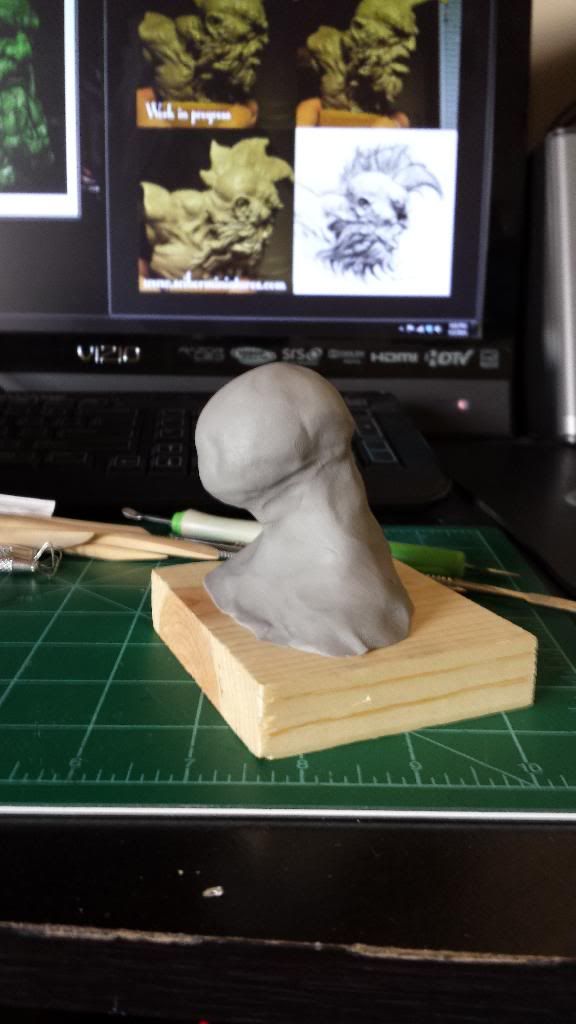
1. Here I began by making what vaguely looks like a head and neck.
2. To get to this step I have used my fingers to sink holes where the eyes roughly should be.
I then grabbed a small chunk of clay and formed it into a somewhat nose shape. From there I used some random metal sculpting tools to get a decent shape for the nose and mouth.
The idea in this step was to nail down the "Salty" expression.
3. Here I add the eyes and eyelids. I just made to small balls of clay and pushed them into the sockets I had created earlier. Then I pulled two tiny pieces of clay rolled them into tiny cylinders and flattened them a little between my fingers then applied them to the eye balls. (One good tip... if you use clay to make the eyeballs it is good to bake them, even better if you want them to be perfectly round... buy some round beads)
One thing to note... at this point as I am sculpting I am looking at this thing, thinking to myself... this is hideous, I really can't stand how this looks. I decided to push on... (the reason I mention this, is sculpting is pretty darn forgiving, if you have patience)
4. At this point I decided I needed to beef up the nose and make it decidedly more Dwarfish.
I also decided he needed to have a top to his head as well. A lot of trial and error here, grabbing chunks of clay, massaging them into the shapes I am wanting using fingers and a small sculpting too that has an almost spoon like shape to it. (Didn't snap a photo of the tools I used, if that is something anyone is interested in let me know and Ill throw up another post with the tools etc... I used.)
At this point Im really starting to feel happy about what I am doing. Lucky for me I have a group of buddies I get to bounce my creative ideas off of. (If you don't have a group to do that... jump on www.geek-garage.net.forum there's always a group there willing to help.)
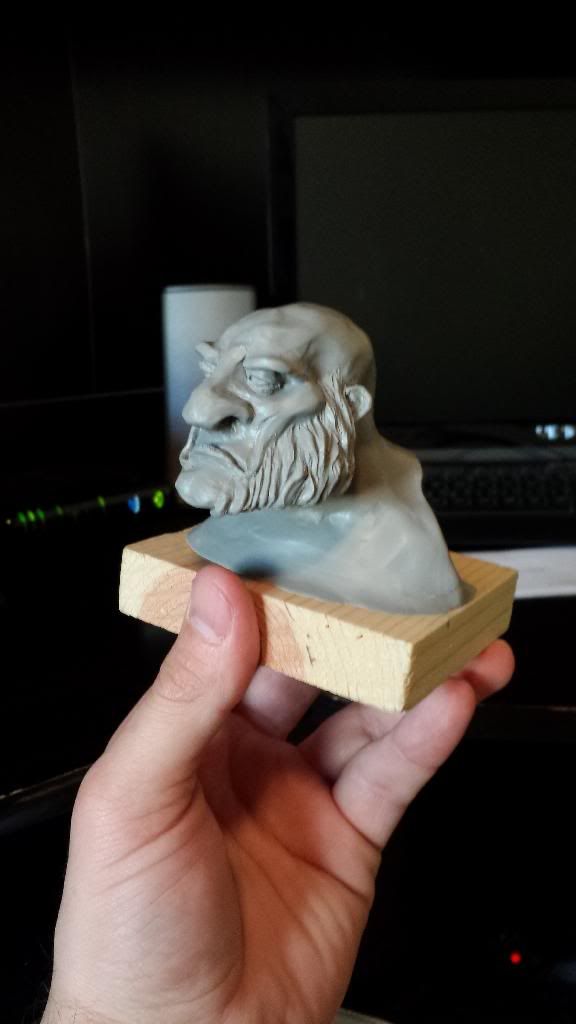
5. Here I begin work on the beard. I really have no idea how I want this beard to look, I just start rolling up small noodles of clay and laying them down on his face like dreadlocks. Then I go in with my spoon tool and shape them to look like strands of hair.
I debate on leaving just the chops... but decide no proper Dwarf rolls with out a beard!
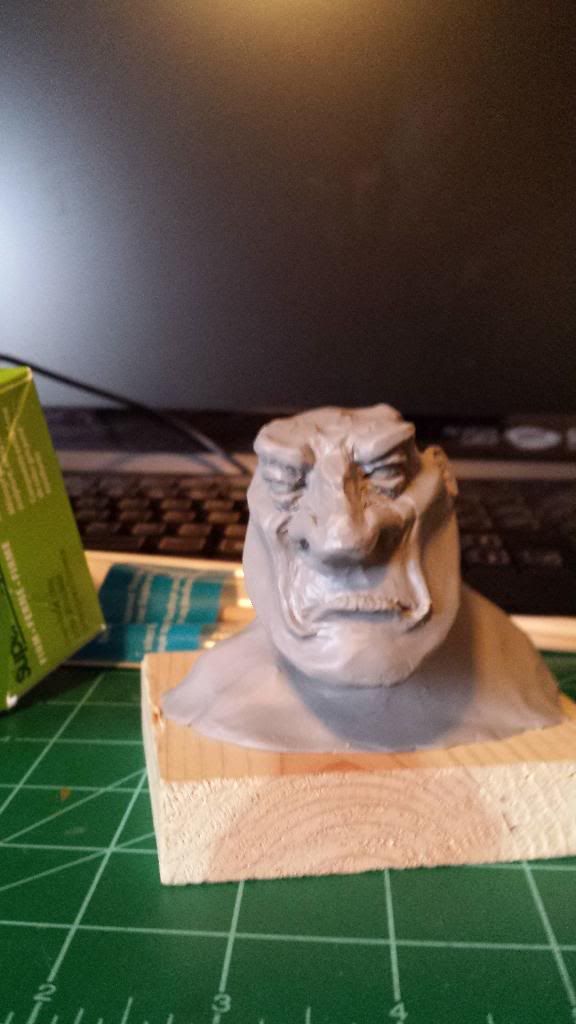
6. I continue to add noodles of clay all across his chin and cheeks and stop here, a nice close cut beard. At this point I think is it done!? Maybe I've completed my Salty Dwarf!
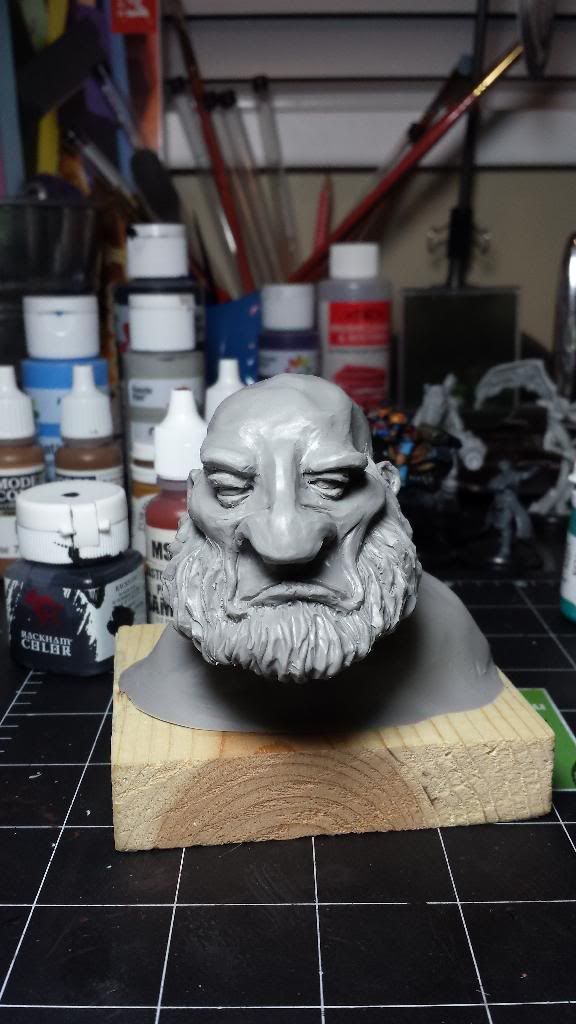
7. I add my eyebrows as my "finishing touch" Using the same technique I used for the beard, only much smaller noodles.
I bounce it off of my buddies and see what they think. Ol' Scotty mentioned that he needed more expression in his eyebrows.
I call it a night, and something about the face is bugging me, Scotty is right I need to get some arches in those eyebrows to make him right good and angry... but there was something else bugging me too...
I go to bed thinking about the face... then it hits me... right in the middle of my face!
His nose is not connected to his eye sockets! Everyones nose connects to their eye sockets!
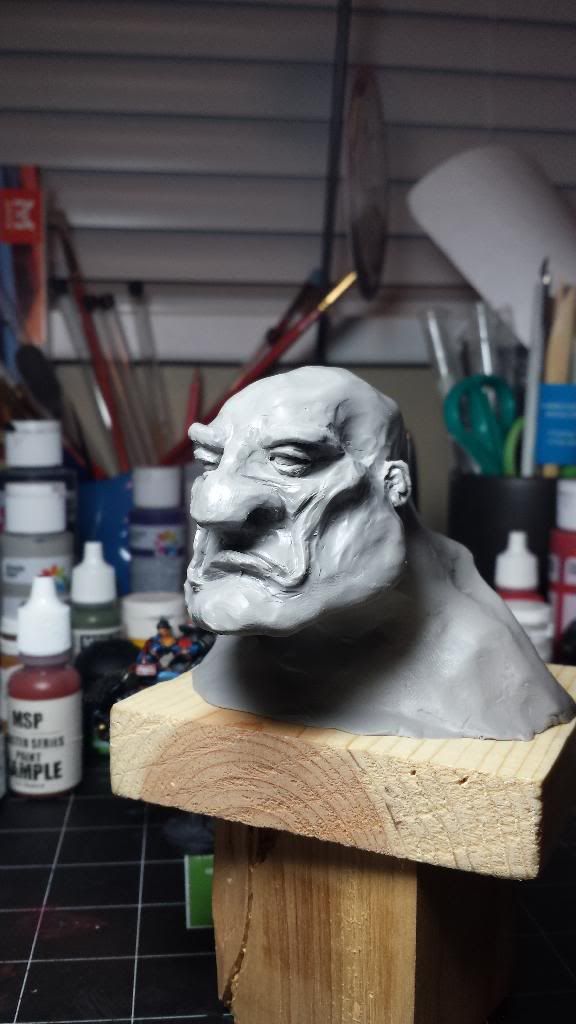
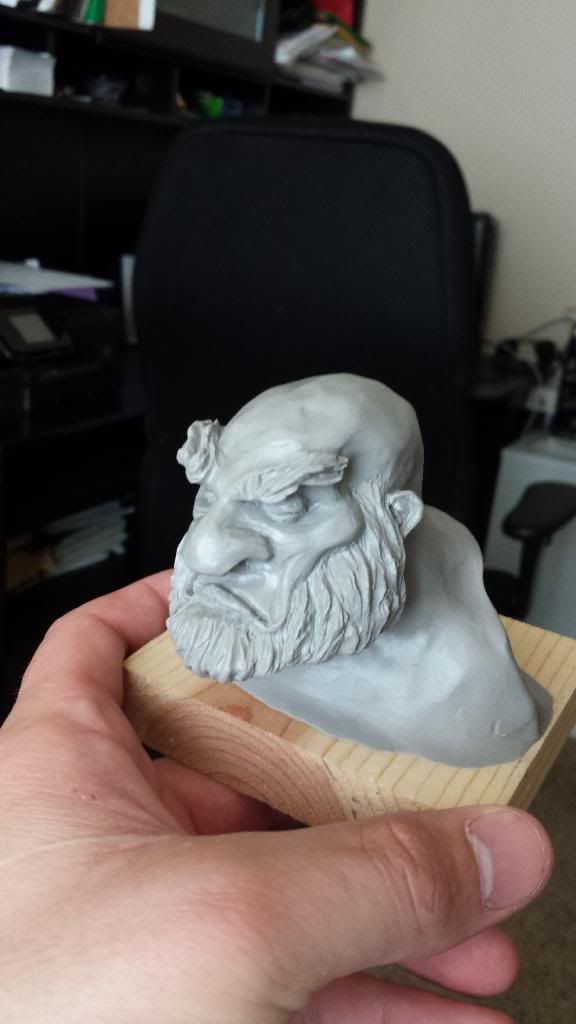
8. I wake up at 6:30 the next morning. Pour me a cup of Joe and get to work on the eyebrows and the nose.
Nothing like being up early on a weekend... kids sleeping, wife sleeping, the aroma of coffee slightly filling the room... can't think of a better environment for some creativity to be unleashed.
I sit down and start mashing clay in my hands... then I put the clay down and decide... well the eyebrows are already done... what the heck... and I put my thumbs underneath them and gently push up...
then I pick up my clay and fill in the gap between the nose and eyesockets that was bugging me so badly....
At this point it has been a whole 30 minutes of hobby serenity... then my beautiful little 2 year old walks into the room... "Dada... Im hungry."
And that was the end of my morning hobby time.
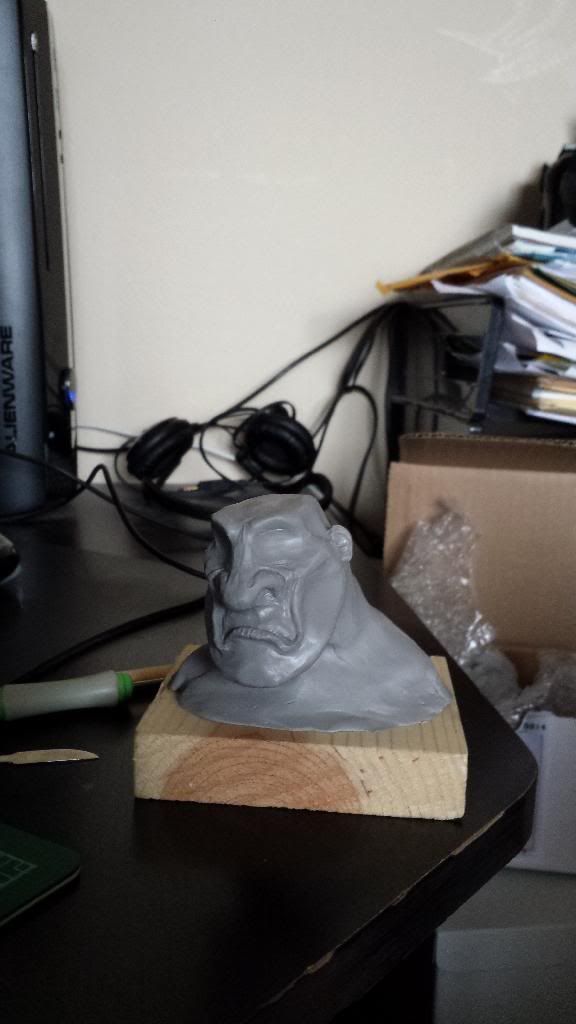
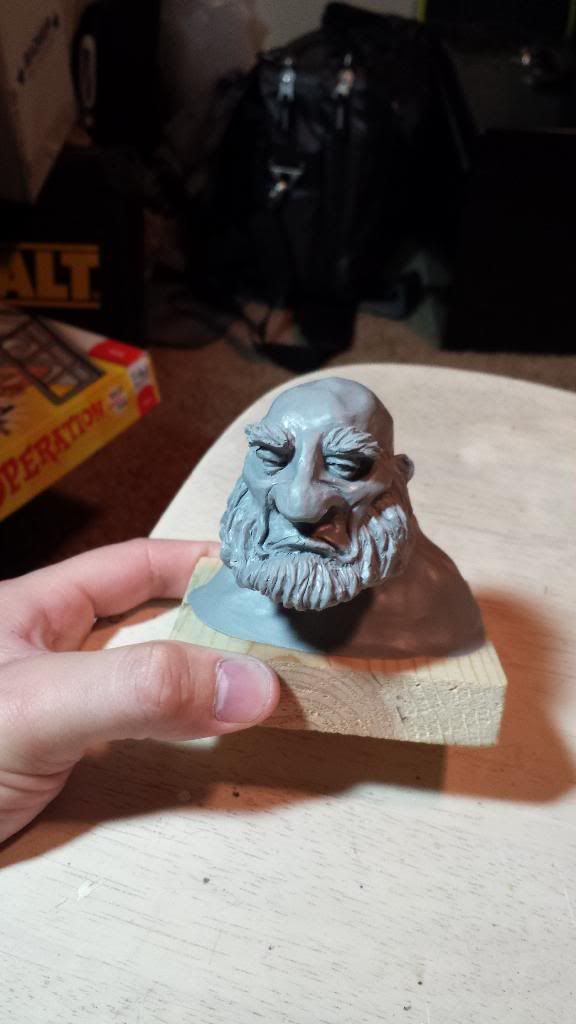
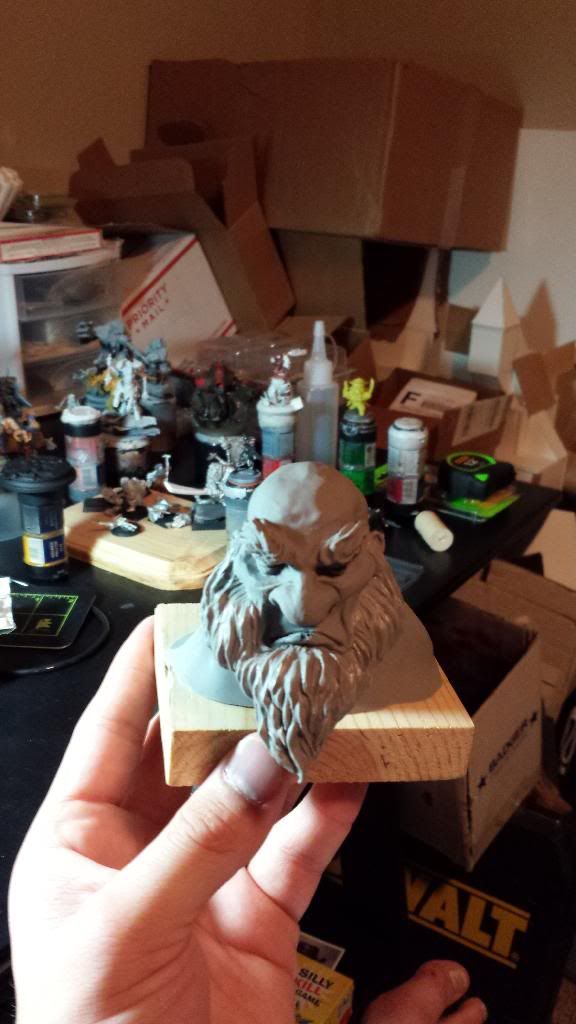
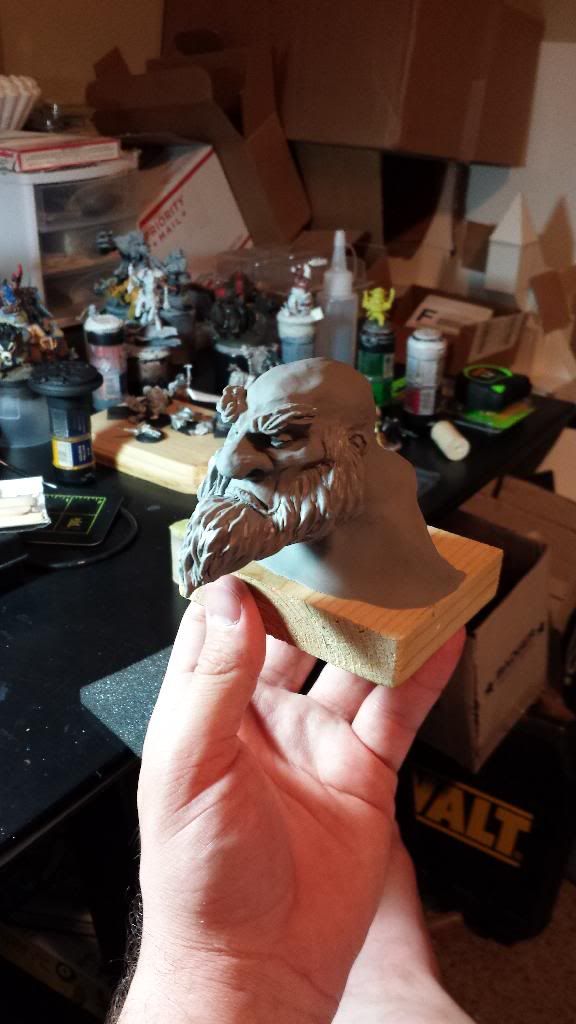
9. Picked this guy up again the next morning, and after bouncing the pics off of my buddies again, we all decided he needed a fuller beard. So again I went to rolling the noodles and and piling them on the cheeks again.
For some reason Im really stuck on the close cut beard thinking its the only way to go... but then I kept getting this Ogre vibe from the bust and not a proper Dwarfish vibe.
Again being greeted by that beautiful face and the wild morning hair of a two year old, I am relegated to fatherly duties and my Dwarf will just have to sit and wait.
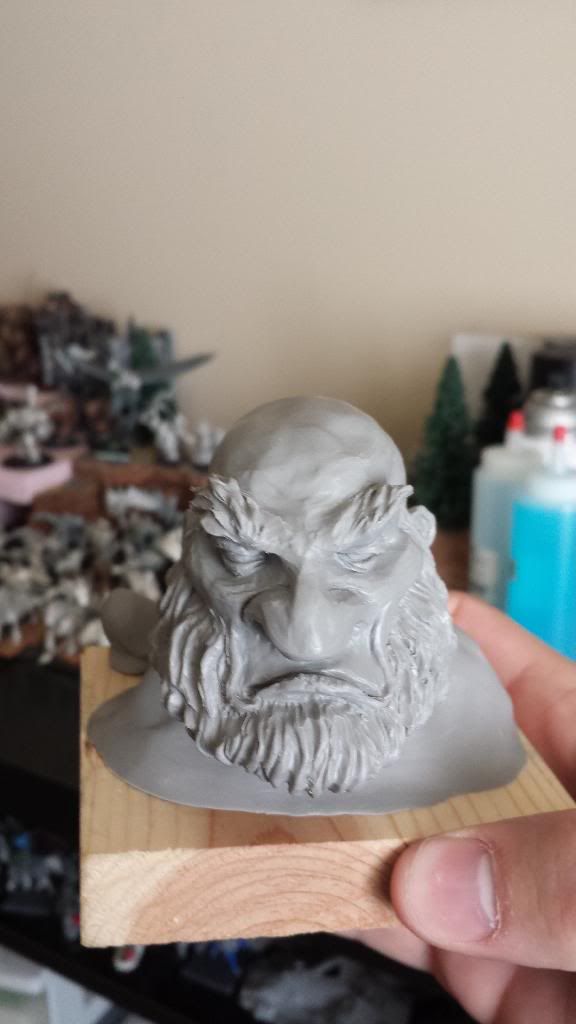
That night I picked up the Dwarf for the last time, beefed out his beard dramatically, and thus the Salty Dwarf was born!!
Stay tuned... for The Salty Dwarf is Born pt 2... in the next post our own Wild Chevy will walk us through the process of molding and casting the sculpt, and turning it into a trophy.
Thanks for watching!!
-Grim
No comments:
Post a Comment