
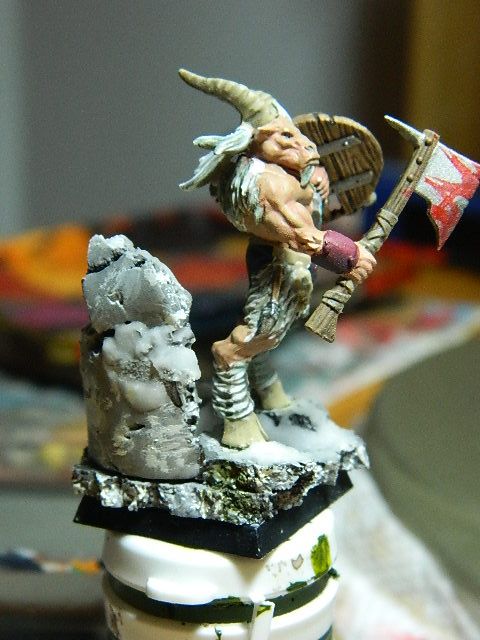
Ladies and Gent's, I present to you, Sir Goat:
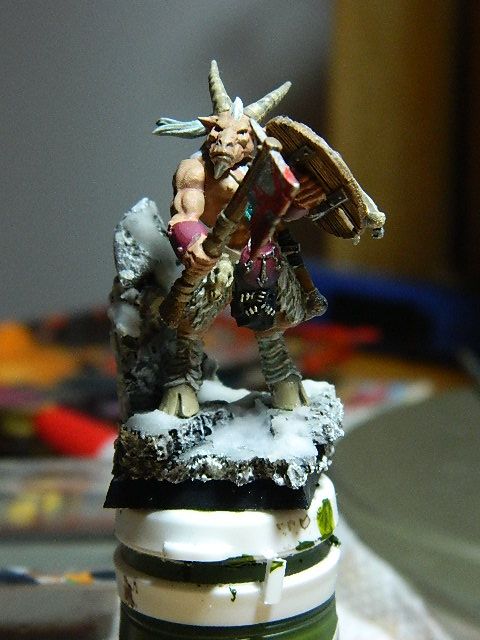
Goodness, what a trip this whole project has been. To be honest, at the beginning I wasn't quite looking forward to it. I've never handled a GW model before, and I didn't get a good feeling out of the way the plastic felt. I'm thankful though, that it's plastic. It made handling it far easier than some of the Warmachine models that I've painted before. I'll save my final testimonial for the end, but now, let's go through the last steps of Sir Goat.
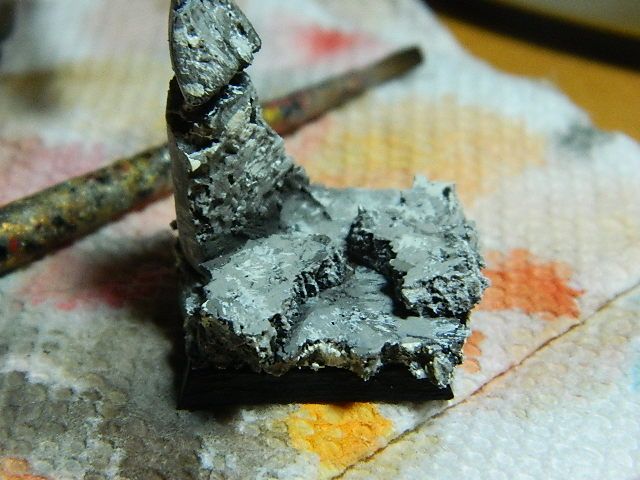
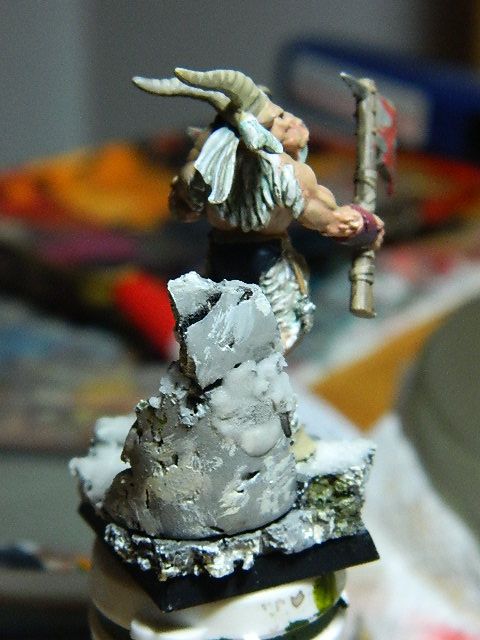
Here's the base before I put anything on it. It started out just white primer, and here's the progression:
- Ironhull Grey
- Umbral Umber
- Bastion Grey
- Bastion Grey + Cryx Bane Highlight
- Bastion Grey + Menoth White Highlight
- Menoth White Highlight + Bastion Grey
- Menoth White Highlight
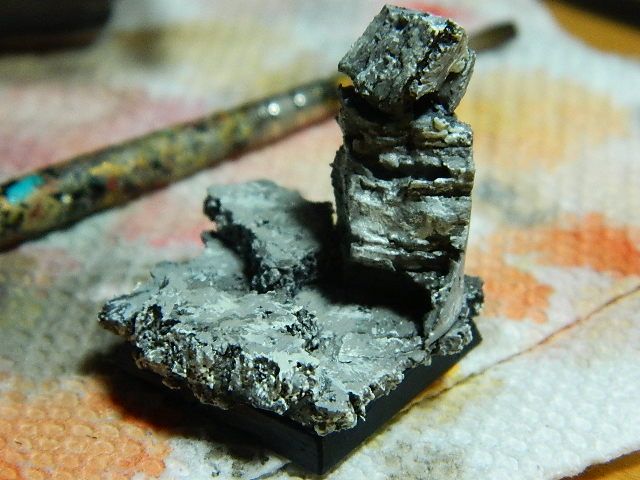
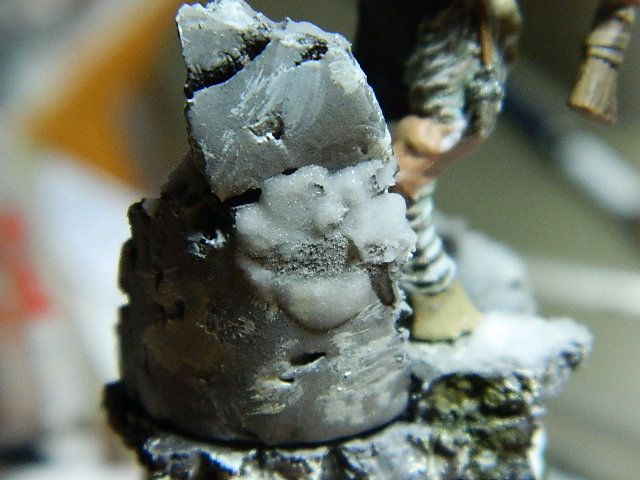
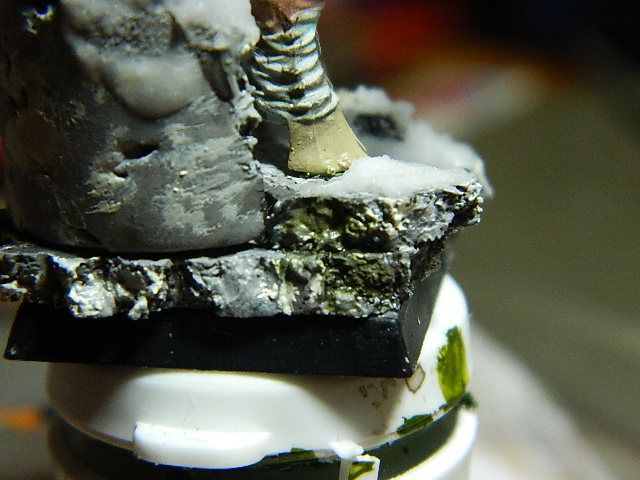
I've followed a similar progression in the past, and used a drybrush instead of a regular brush. In the picture below, I tried something. In the Brush Thralls Hordes Basing Guide, they show a way to paint mossy stone without actually using moss. It was pretty simple, and comprised of two steps:
- P3 Armor Wash
- Watered down Ordic Olive.
The result is simply great. It looks as if water's been flowing down that rock for a long time. It's the first time I've done it, and I think it just looks great. I'm probably going to be trying it again in the future.
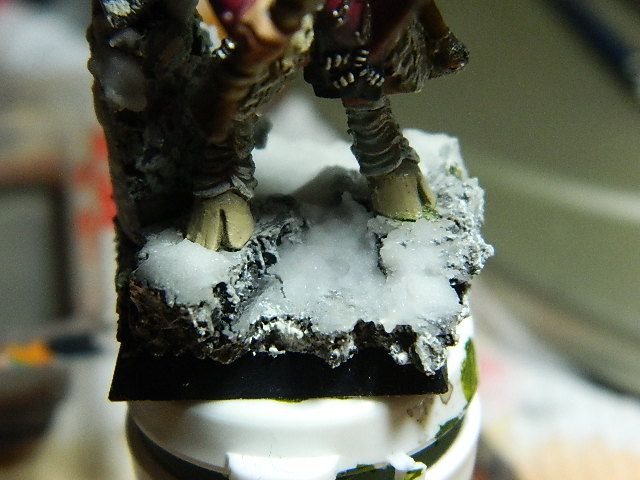
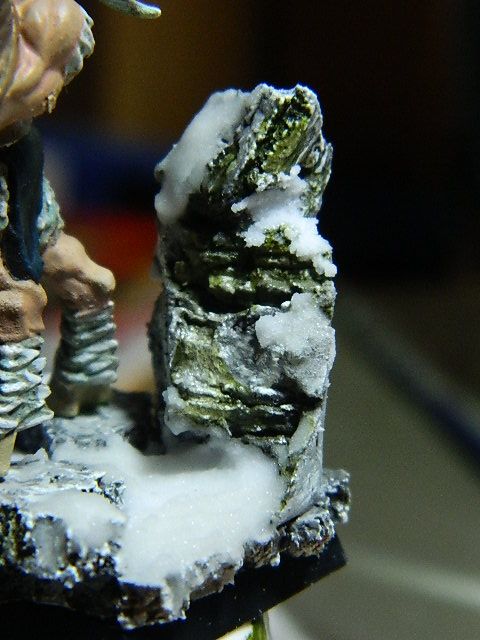
Now the snow. No, it's not pre-bought snow watered down. I actually make my snow with a nifty little recipe from that same basing guide. It's like this: 1 part water, 1 part white glue, 2 parts baking soda. If you do it right, it has a nice consistency that you can water down if you want to make it look like it's melting, which is what I did here. I've used this snow on a few other models, and as soon as it hardens, it maintains its look, and stays on pretty well with after a bit of sealant. Let me show you the rest of Sir Goat, and then I'll have some closing notes.

I'd like to thank the people of the Geek Garage for inviting me on to this great blog. You guys have been great at helping me (and everyone else that reads the blog) to become a better painter. If you had told me a year, or even a year and a half ago I'd be painting like this, I wouldn't have believed it. What they say is true: The only way to get better at something is to keep doing it and to continue learning how to do it. We never stop learning, and I guess that's a quality that's needed for someone who wants to do the things we do, and even just in life. Sorry for getting a bit philosophical and deep. Things have been going really good for me lately. So, again, thank you Geek Garage, and thank you readers! I'll continue to provide such reports in the future. I will be sad to see Sir Goat go. Here's hoping he finds a good home.
Until next time folks,
Will!! You've done an amazing job with this project. The painting is excellent, I can totally see some improvements in your skills. Way to go man!
ReplyDeleteThe write ups are great as well!
Totally stoked that you got this done so quickly!
Great job!