Thursday, August 30, 2012

Ahh.... Thursdays off... I think I Love it!!

So, with school starting up I have the good fortune of taking Thursdays off wooty woot!  This mainly because I will need to be dropping off and picking up from Kindergarten and 3rd Grade, as well as take care of my 13 month little princess.

Nap time is a wonderful time to sit down and crank out some painting!

I did a bunch of work on my Epic Doomshaper.  Love the rules... hated the goofy looking pose of his fig.  So I took some liberties and repositioned his arms... now the goofy looking fig looks freakin rad!  Looks like he's ready to go all Bruce Lee on some ones A---errrr... Butt! ;-)

Anyhow I am probably 95% finished with this guy, just thought I'd throw him up here for ya'll to look at.

Oh, and don't worry I got plenty done on my Beastman as well... I'll be finishing him up and posting my final on him tomorrow.

Anywho, enough with the talk...


Glory to the Herd... Part 3

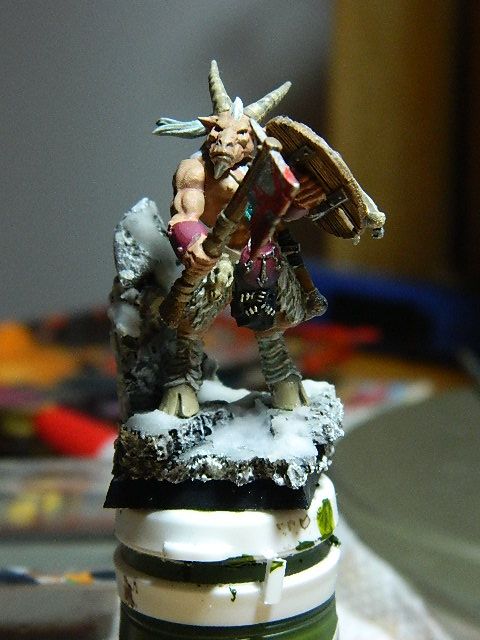
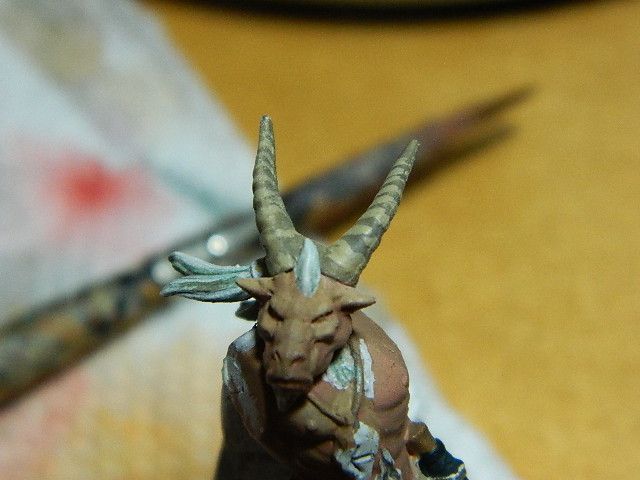
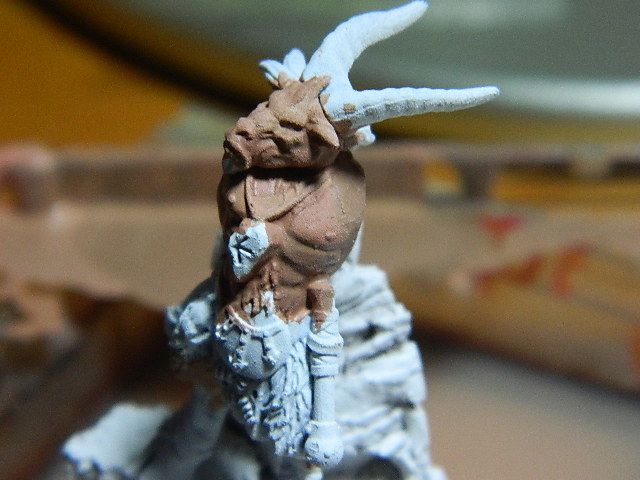
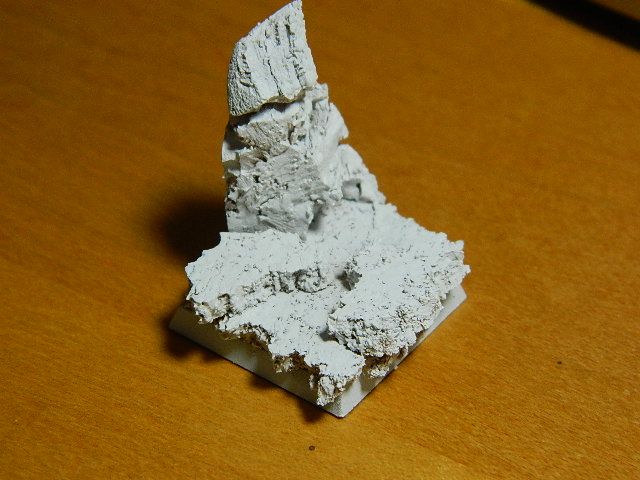
Alright, had a bit of time to do some more work on this crazy dude.  I have completed the flesh and started on the fur and the hair, slapped a basecoat on his axe haft as well.

With the flesh I started with Rackham Tanned Flesh, I diluted it down with water and some VMC thinner medium. It was diluted almost to wash consistency... just a smidge thicker, this only tinted the model.  I followed up with a GW Gryphonne sepia wash.  I came back and highlighted with some GW Tallarn Flesh mixed with the Rackham Tanned flesh... I really don't know the exact mixture... I just kind of plop a drop or two of each color on my wet pallette then I mix 'em together till I get about what I think I need.  (Sorry for the vagueness here :( )  I applied the highlight mix to the top portions of the muscles.  After this application I washed with a bit of GW Asurmen Blue.  After the Asurmen Blue wash dried I mixed some Rackham Ephren Blue with the highlight mixture, watered it down a bit and highlighted again with this mixture.  I then washed again with GW Gryphonne sepia.  After which I introduced some Rackham Red into the initial highlight mix.  ( A tangent here, I use a drop of this Rackham Red in every flesh tone I create in order to get the redish tint to the the faces of all of my models... very useful pot that one :) ) I applied the redish mix to the cheekbones the nose and mouth area of the figure.  Followed up with a thinned down wash of Rackham Ephren Blue, GW Tallarn Flesh, and Rackham Red, essentially a purple wash.  After which I highlighted again with the tallarn flesh mixture and a little bit of Andrea Color White Paint set pot number 2.
I really hope you understand what is going on here... I may have to do a step by step tutorial of this sometime if there is enough interest.

Here are the pics:


Thanks for watching and stay tuned for more!!

-Grim

Monday, August 27, 2012

Glory to the Herd! ... Part 2

Looks like its down to the wire!  One week left on the challenge... so who is going to finish.

Ill tell you, this summer has been a lot busier than I ever thought.  Finding time has been extremely difficult.  However I finally got this bad boy all primed up and ready to go.

Now for some pics:


I should be slingin' some paint on this dude during the week.  I will be posting up WIPs a la our friend Journeyman over the next few days.

Thanks for watching!

-Grim

Wednesday, August 15, 2012

Of Beast and Man Pt 5 (Finale)

Early spring. The Gor have just come out of a skirmish with raiders. Standing near a rock formation stands one beastman, one few survivors. He looks out upon the devastation of his caravan, bloody axe in hand, and proclaims, "I am Sir Goat."

Ladies and Gent's,  I present to you, Sir Goat:

Of Beast and Man Pt 4

Let's play a game. If you can guess one of the colors that I used in this update, then you win the satisfaction of getting the answer right! I'll give you a hint: I put the color on a pretty high pedestal a few posts back.

On to Sir Goat!

The next step that I decided to do was his horns and hoofs. Not really knowing how to make the color of actual goat horns, I decided to go with a mix that I'm more familiar with and that I enjoy using. Shown here is PG's Bone Mix, outlined in the Forces: Cryx book. I didn't follow every step (skipping a shade), but I think it looks just fine.

  • Colors Used:
  • Base: Jack Bone
  • Shade: Wash of Cryx Bane Highlight
  • Highlight: Jack Bone + Menoth White Highlight

Tuesday, August 14, 2012

Gor unleashed!

So small steps before a big trip.
Did a respose on the Gor's arms with miliput, added some chains, and ankle iron. Next on the list will be building up the base and adding arrows.
I'll be out of town at GenCon so the paint will fly next week.

Wildchevy


Monday, August 13, 2012

Jumping into the fray!

Got the pose for my Gor all hammered out. I'm not big on the conversions and modeling, so I'm just sticking with basically a stock pose.
Have some gap filling to do, as well as a bunch of base work before the paint can start. Hopefully that doesn't take too terribly long and I can get crackin.


Glory to the herd!

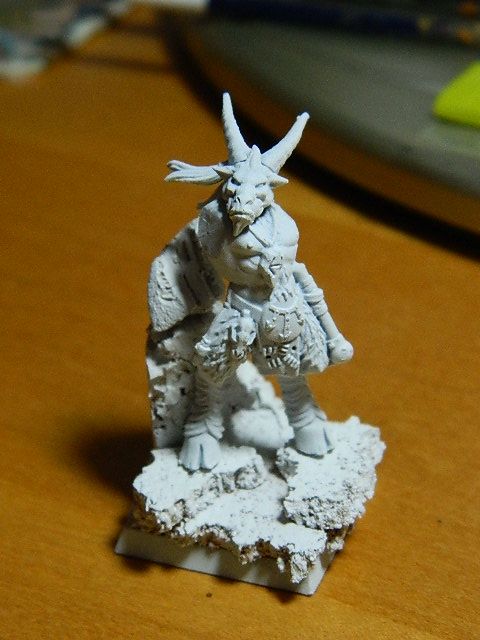
Alright I finally was able to nab a bit of time to assemble my entry into the Gor Herd!  I imagine this guy has just finished fighting for his right to lead the herd.  He has just clambered to the top of the hill presenting himself as the new Champion of the herd.


A bit of putty work and he will be ready for priming.  More to come!!!

Thanks for watching.

-Grim

Sunday, August 12, 2012

Of Beast and Man Pt 3

In this edition of Beast and Man, I'm going to show you guys how I did the fur. I decided to try something different and what I hope will be unique. In the Forces of Warmachine: Retrubution of Scyrah book, there's a guide for painting platinum blonde hair. While I didn't quite get it to look like the book, I think I punched out a unique look.

Saturday, August 11, 2012

Of Beast and Man Pt 2

The first part of my beastman (who henceforth shall be known as Sir Goat), was the flesh, which I would imagine would be the first step for a lot of models. For me, I've found that it's easiest to start with the flesh because often times it's the most difficult to reach, and could easily ruin some good work on clothing and whatnot. The first set of pictures here is the basecoat and the first layers of shading.
  • Colors used: 
  • Base: Midlund Flesh + Gun Corp Brown 
  • First Shade: Base + Skorne red 
  • Final Shade: Previous Mix + Thornwood Green + Battledress Green

Of Beast and Man Pt 1

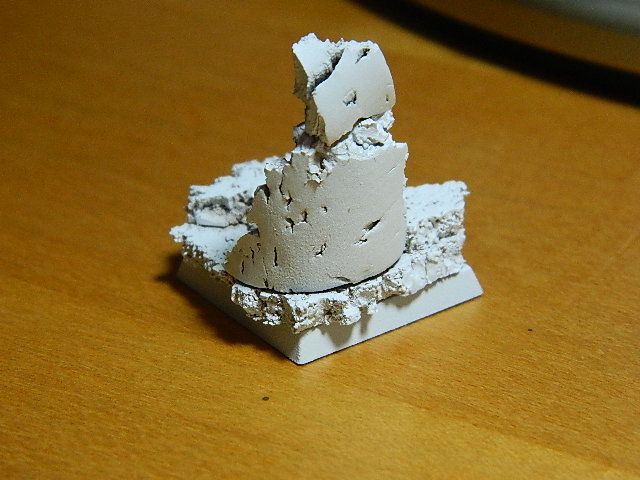
Greetings all! I was the last one to pick up my Gor beastman, but apparently I'm the first one to post my progress! Pictured here is the base that I'm putting him on. Simple enough, a couple layers of cork board and a cork from a wine bottle. The bottom picture is my beastman as he's going to be on the base. I haven't put his arms on yet, as they kind of get in the way of the torso. I expect to have a lot of fun doing this! Until next time,

Thursday, August 9, 2012

On Lessons Big and Small

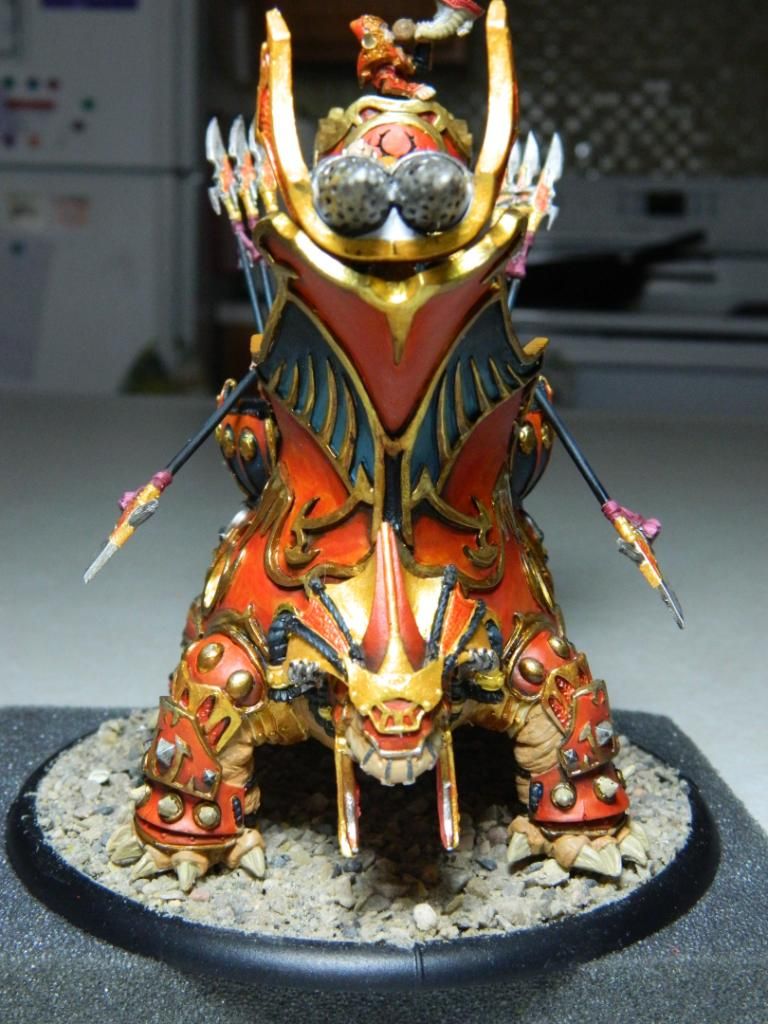
I present to you....the Siege Animantarix!
As viewed from my kitchen counter... I finished this bad boy up earlier today (Aug 9th), for a friend of mine who attends our local shop, Endzone. This took me far longer than I expected it to. while it's not the most highly detailed of models (here's looking at you, Dystopian Wars), it is big. Huge, large, immense, words that I never thought I would say in the context of model size. As such, the first lesson that I learned to appreciate more, is paint in steps. Start on one thing, such as the leg plates, and completely do those from start to finish, and do so for the next section, and the next, and so on. While this does result in a lot more time mixing, I found that this was very handy for a model this size. It's far easier to do this than mixing a large dose and rushing to basecoat all the areas that it's supposed to cover in one go. Another lesson I learned from painting this big thing is proper blending. While I don't know any of the brush techniques used for blending yet, I found out that blending consists of about 6-8 colors that are very close to each other on the wheel. For example, I followed the Skorne Red painting guide as outlined in the Forces of Hordes: Skorne book. I'm glad I did so, or my blending would not have come out as neatly as it did. While not a replica of what's on the box, it was fun to do. This also applies to the metallics. For the longest time, I thought that metallics consisted of painting the base coat and applying an appropriate wash. I always wondered how the professionals, and my fellow bloggers, achieved the results they did with their metallics. The painting guide in the Skorne book was very helpful in this regard. Again, the shadow to highlight consisted of about 6 steps of shades that were very close to each other. In conclusion, this was simply a blast to paint, and I'm sort of sad to see it leave the painting table. But I'm content in the knowledge that it will see play time. In fact, it saw play time as soon as I dropped it off! Here's hoping that this thing will lead the head of the Skorne forces into victory.

Tuesday, August 7, 2012

War Room

Well a little break from the norm of the coolness that is mini painting.  I was kind of intrigued by the news surrounding War Room.  So I picked it up and well....    

     I have to say I am not at all impressed with the new War Room App.  All the waiting for this...?  And $7 down the drain for my Khador deck.  While having all the cards for your faction is great.  The app over all is very clunky.  The army building process is an extreme let down it is quite tedious requiring you to manually switch from Warcaster, to Unit, to solo, to attachment, all the while keeping track of how many points you have left.  I think I could honestly build my army faster with my own deck of cards. :P   I think PP really needs to look at the old iBodger app and try to implement the same smoothness in army building with this new app.  Right now it is just too clunky and slow for me to use.  Played around with it for a few hours yesterday, just got frustrated with it, and went back to list building on iBodger. 

    As far as the in game usage, sure its great to be able to mark damage grids on your iPhone and check stats and the like, it just seems a bit too... clunky... If you tap the wrong spot on the stat line, you get a brief rules overview, if you tap another spot you get the card view, about the 4th time I tapped the stat line I was finally able to bring up a damage grid. Bleh, just seems wildly in efficient.

   While I can see there may be one or two benefits to this App, overall I think I'd have to give it a D.  Really want my $7 back to be honest.  Sorry, thats just my opinion on the App.

Any other opinions, please feel free to comment.


Thanks for watching!

-Grim
Sunday, August 5, 2012

Mountain King Commission

Alright, so one of our local Press Ganger's picked up a Mountain King at Lock n' Load.  He asked me if I wanted to paint it for him... I gladly accepted.  I was given an extra blister of troll whelps and asked to include them on the model.  I was also asked to base the model real cool like.  Other than those two instructions I was basically given free reign on this guy.

I'll have to say that this guy was a huge undertaking and was a source of a few frustrations.  Trying to paint a model this big with a brush alone makes for long days, especially basecoating :P  However, even with all of the frustrations I'll have to say that I learned a bit about painting massive models, and enjoyed painting this guy. 

Here's to hoping he enjoys his new toy. (on a side note... this was probably one of the hardest models to photograph ever. Bleh!)


So there ya have it.  The Mountain King!!  One of the coolest Gargantuan/Colossals released thus far from PP.

Thanks for watching!

-Grim

Wednesday, August 1, 2012

The Herd Cometh!!

I have been alluding to a beastmen project in my previous posts.  Well, I guess I oughta give you all the low down on what exactly is going to happen.

We have decided as a crew to grab a Gor Herd box from GW and go to town on a beastman.  Our goal is to push the boundaries of our painting, basing, converting skills.  The ultimate end goal is to culminate the project with a giveaway of some sort. 

Keep your eyes peeled!!  THE GEEK GARAGE GOR HERD COMETH!!

-Grim